DIY Copper Tumbler Candles for Festive Gifting and Home Décor
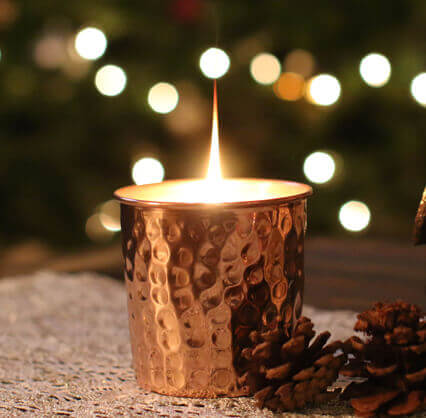
It’s the most wonderful time of the year… and the best smelling. From cookies to eggnog to fresh Christmas trees, nothing screams “holiday season” like scented candles. Our new Copper Tumblers are available in a 4 pack and make the perfect vessel for a DIY that will bring the whole family together and elevate your home or office decor. Make a change this holiday season and give the people you love a unique gift they’re sure to love. These candles are the perfect homemade gift for everyone on your list, from teachers to coworkers to family. The best part? You can use any of our copper cups to give the perfect “just-for-you” feeling that makes DIY presents so popular. To get started on your copper candle holder, just click on this link to our website to find the right cup for you and follow the instructions below.
Create Your Own: Festive Copper Candle Craft
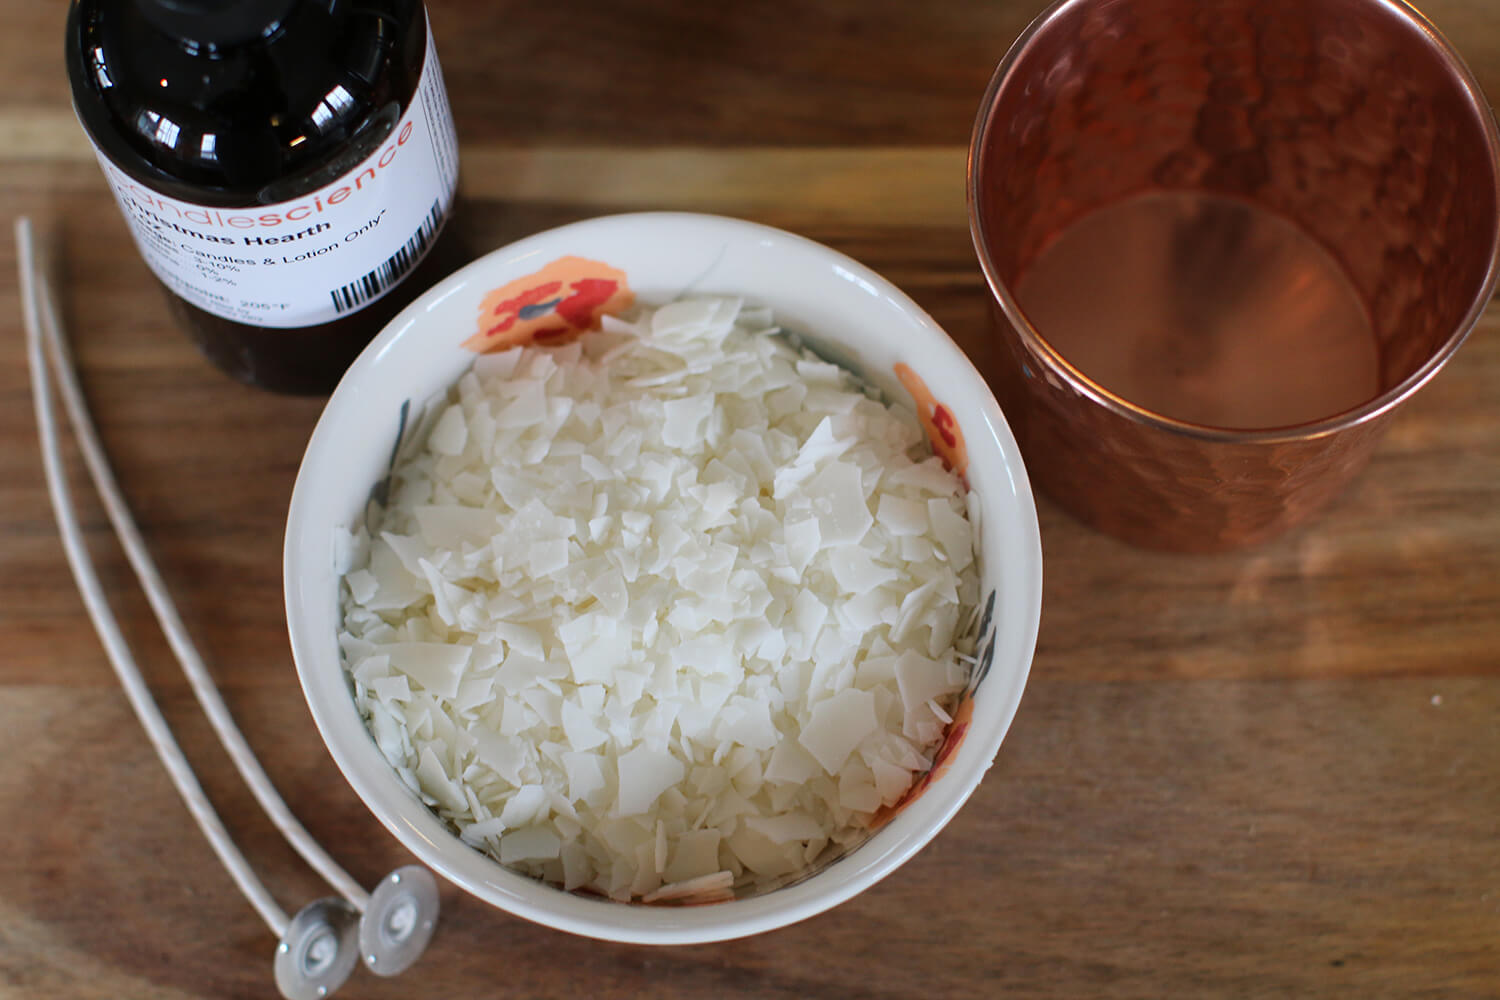
You will need:
• Soy Candle Wax ( We recommend Golden Brands 464 )
• Wax Pitcher
• Measuring Cup (Pyrex)
• 6 inch Candle Wicks
• Thermometer
• Wick Stickers (optional)
• Copper Tumbler (Hammered Tumbler 4 Pack or Smooth Tumbler 4 Pack)
Your Step-by-Step Guide
Step 1: Setting Up Your Workspace for Candle Pouring
First, you’ll want to prep an open area for pouring the candles – spilled candles and wax can cause a huge mess in your home if you aren’t careful. We used two cookie sheets lined with aluminum foil for easy clean up. Once you’re set up, you’ll want to measure out the wax for how many candles you will be making. Each tumbler holds 13 oz., so we are making 12 oz. candles.
Step 2: Melt Wax In Double Boiler
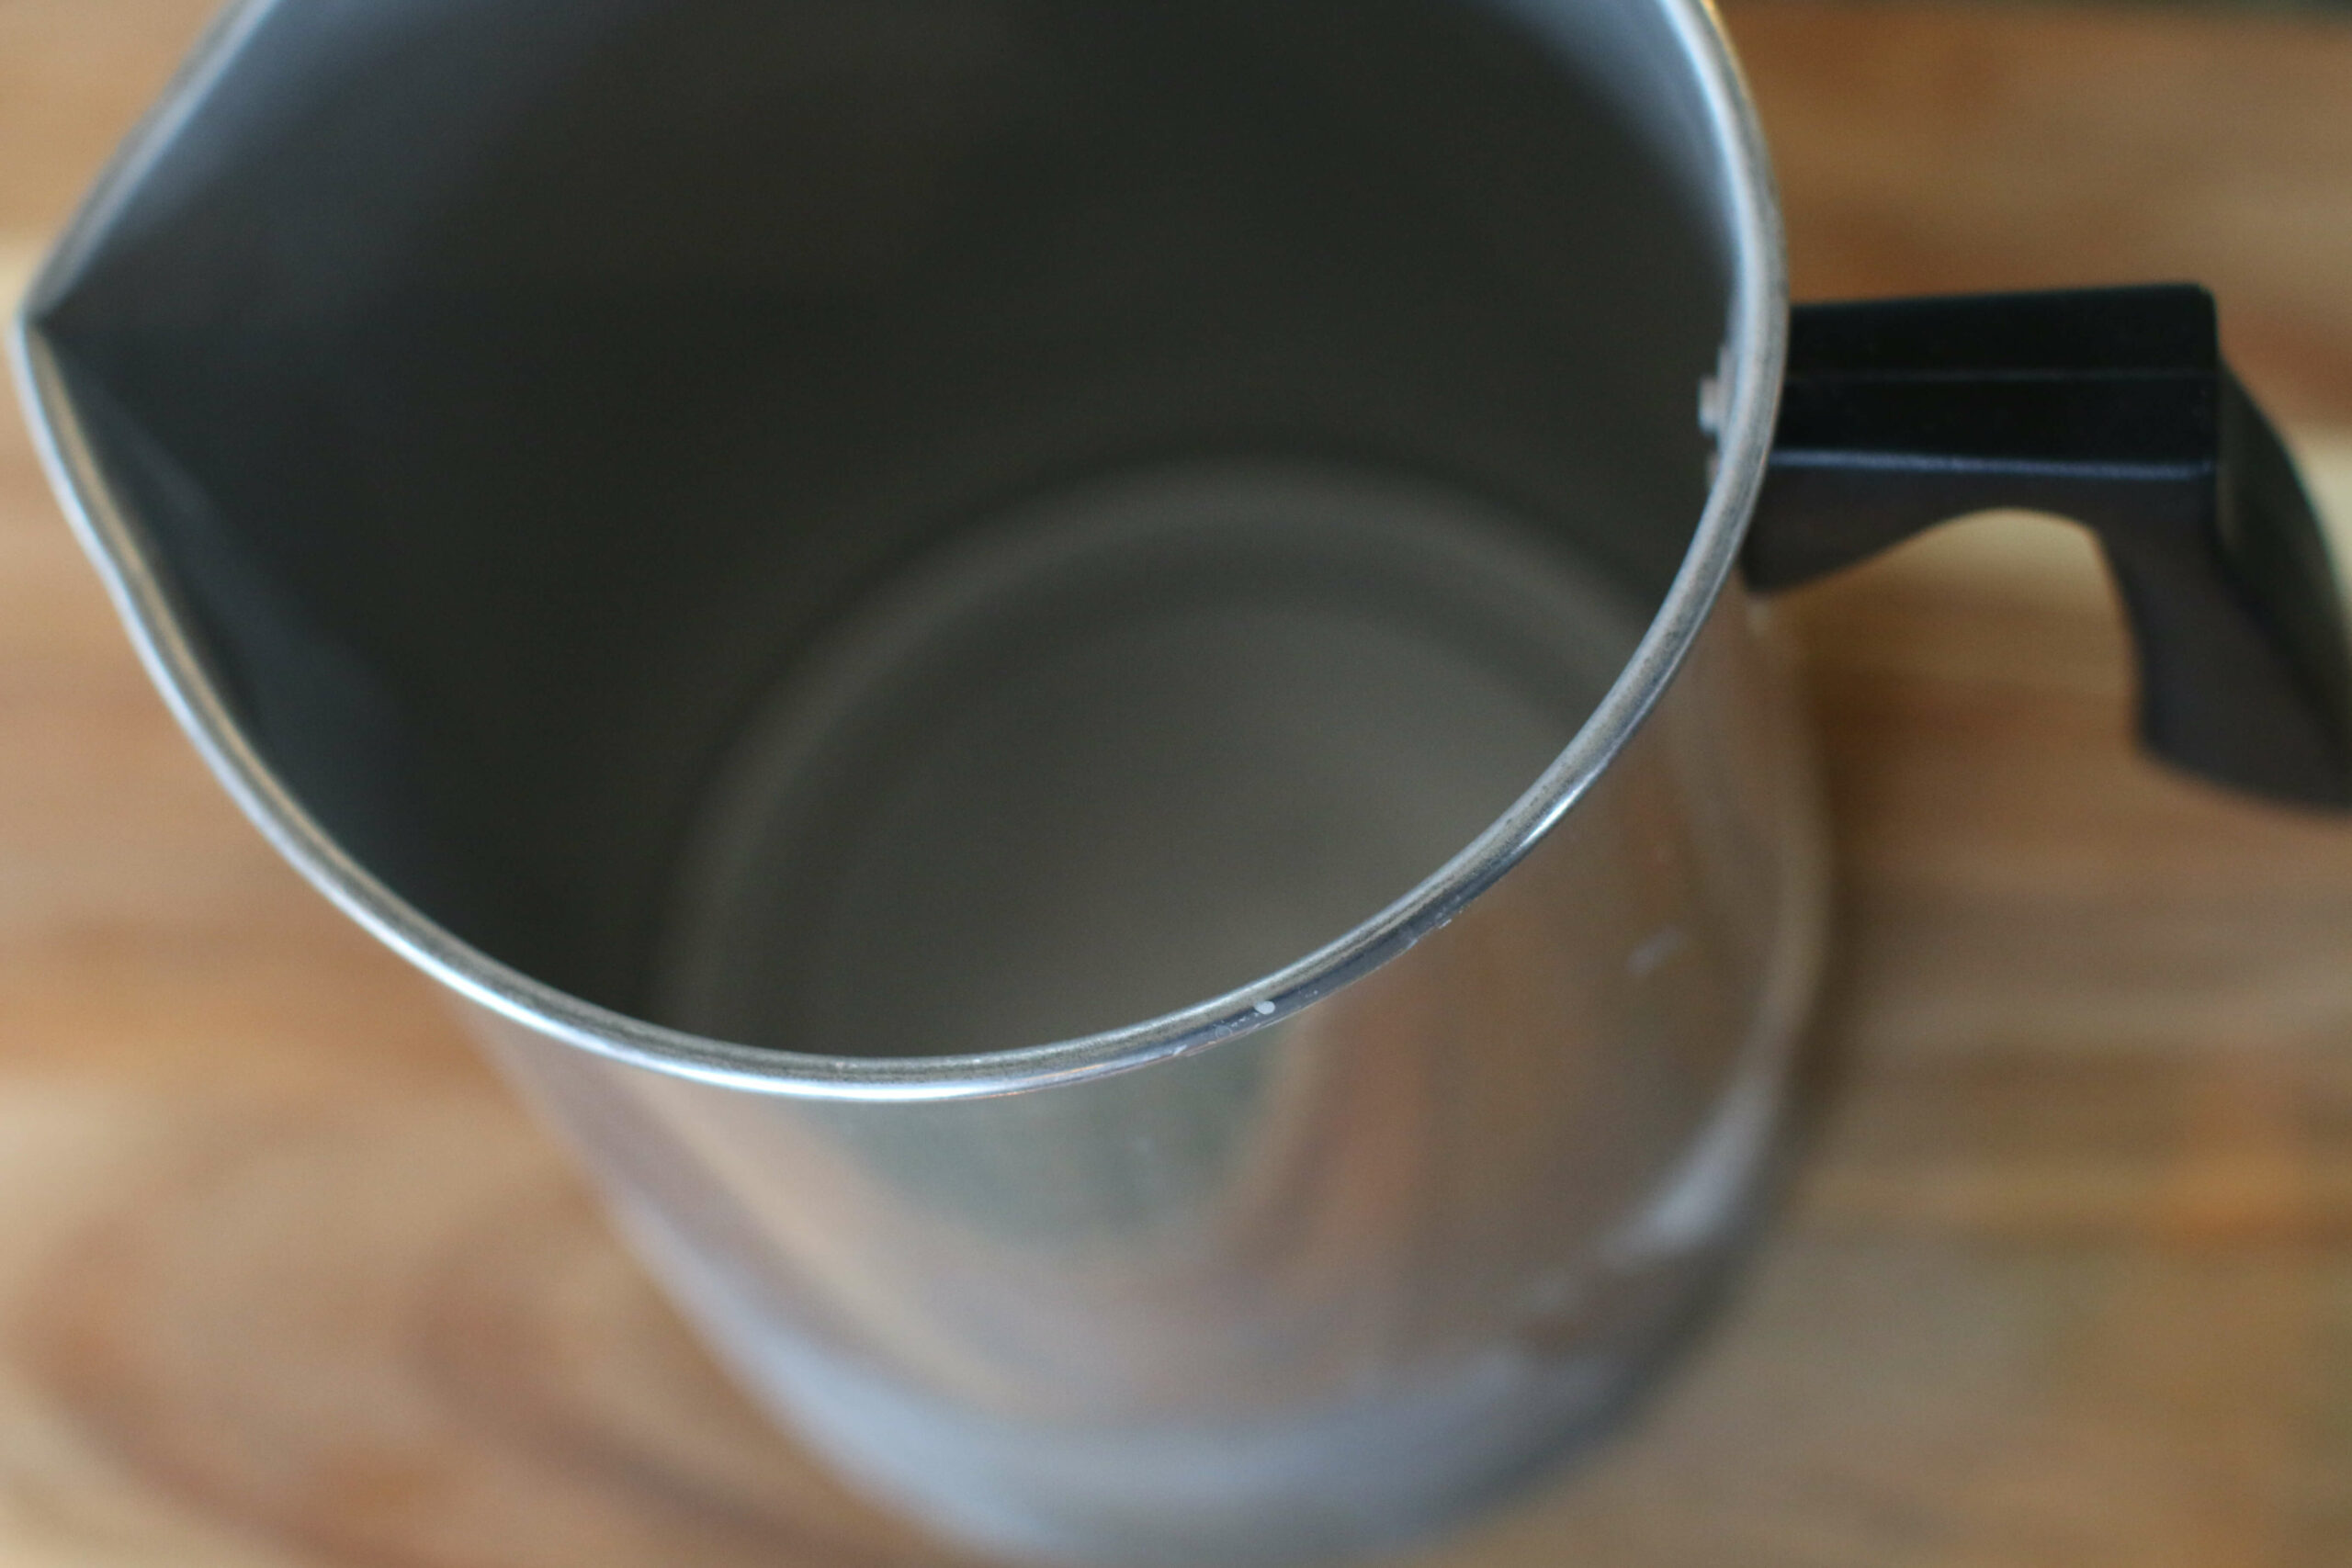
Next you’re ready to begin melting your wax. In a pot or sauce pan large enough to hold the pitcher, create a double boiler by putting a few inches of water in the pan on high heat. Place the pitcher into the boiling water and begin pouring in the wax chips to melt, stirring frequently to melt faster.
Step 3: Combine Fragrance from Candle Science
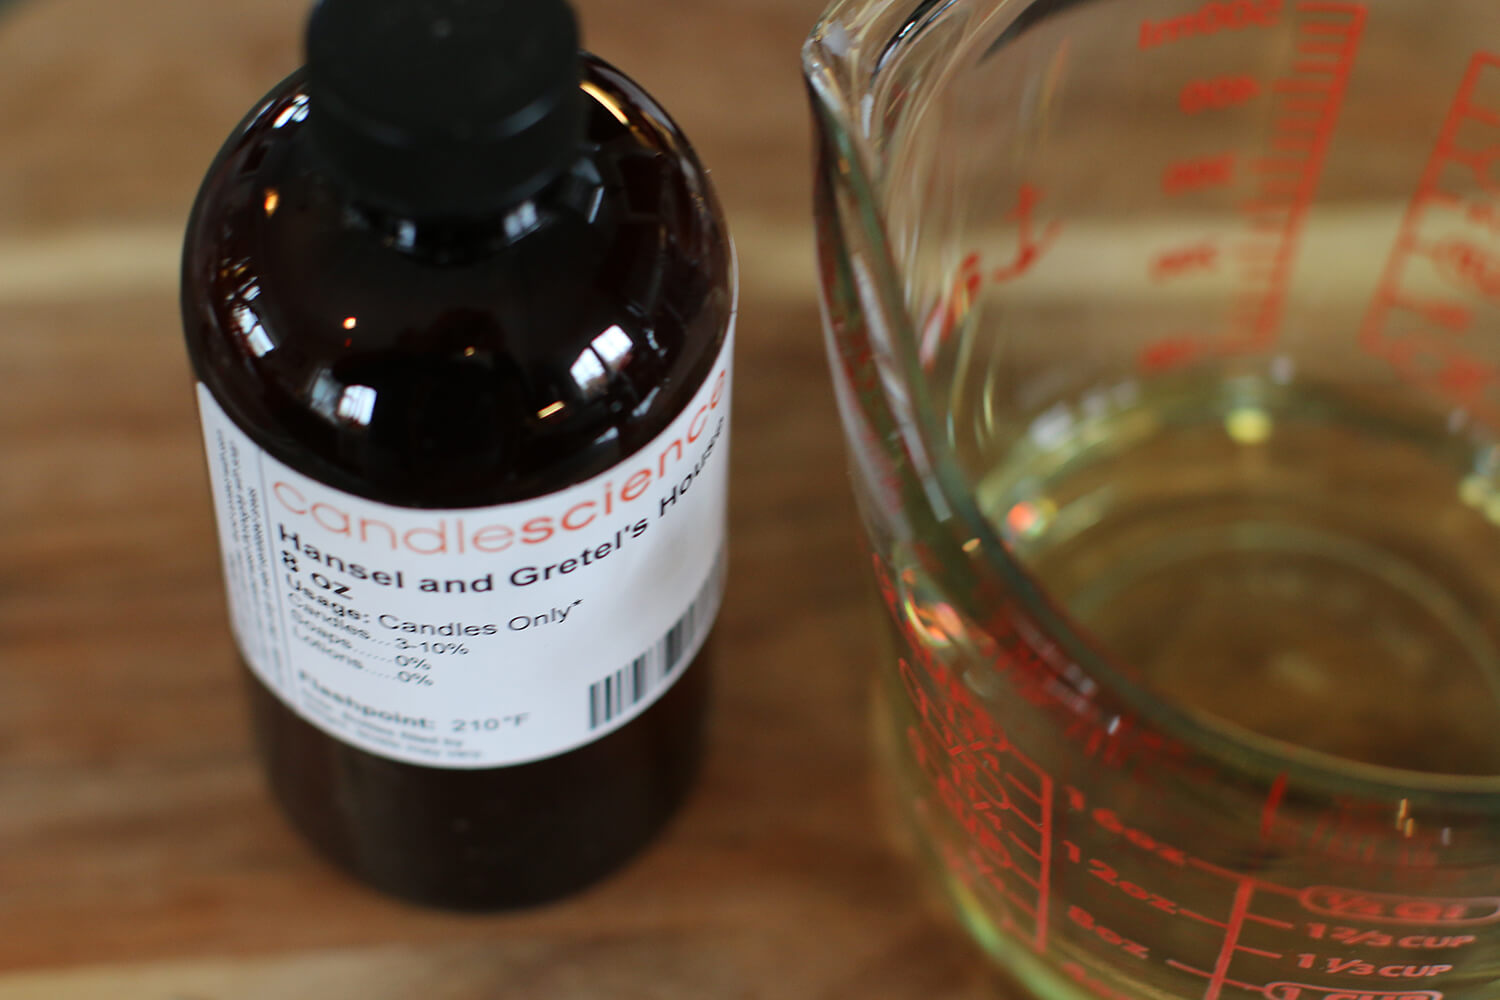
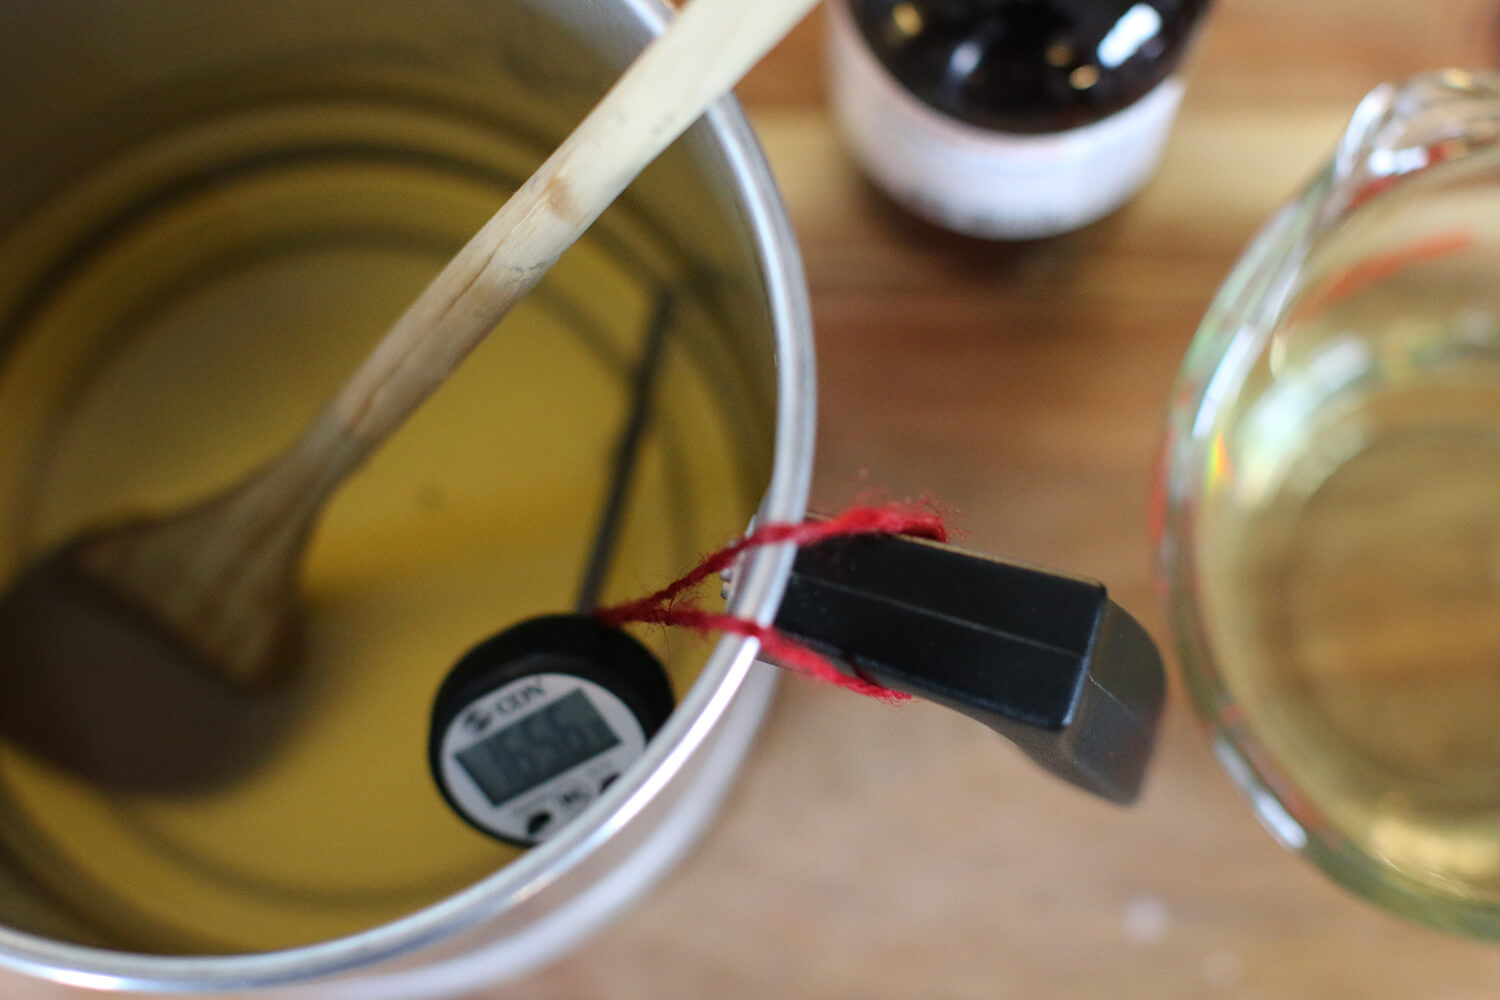
Continue heating the wax until it reaches 185 degrees. Once the wax has reached this temperature, take the pitcher off the double boiler and onto a heat-safe surface. Measure out 1 oz. of fragrance per 16 oz. of wax. Stir in the fragrance and let it rest for 2-3 minutes to combine.
Step 4: Allow Candles to Cool
Let the scented wax cool to 135 degrees. (This is the temperature at which it is safe to pour the wax into the tumblers!)
Step 5: Prep Copper Tumblers with Wicks & Wick Bars
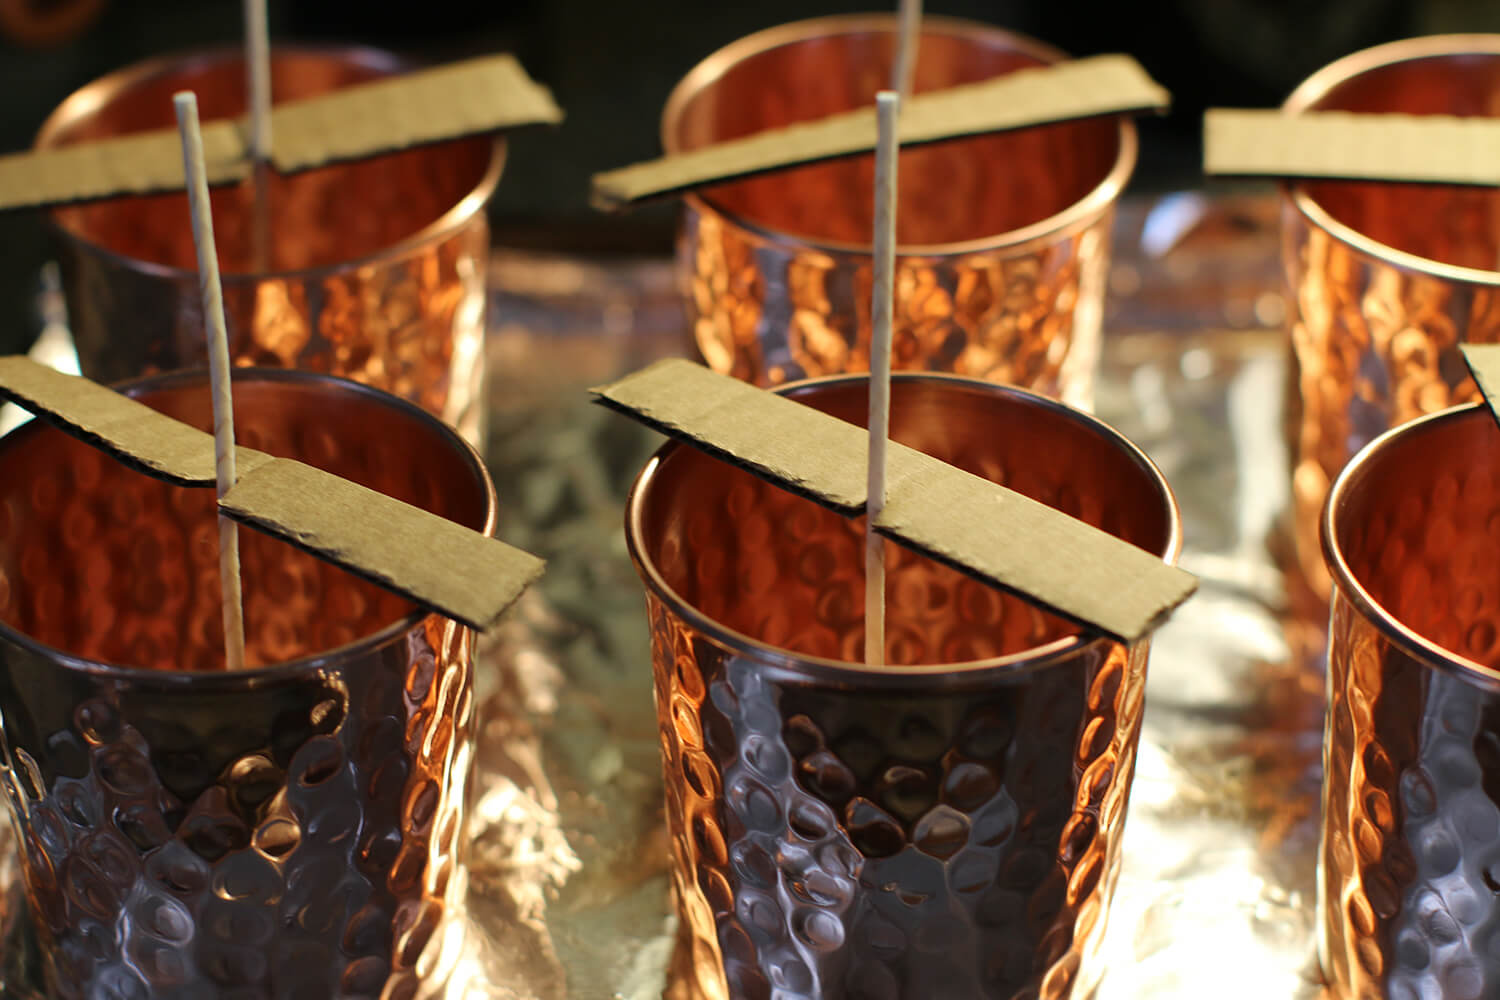
While you are waiting for the wax to cool, begin prepping the copper tumblers by wicking them. We used adhesive wick stickers which are extremely easy to use (also available from Candle Science here) and keep the wick in place. Try to get them as centered as possible at the bottom of the cup.
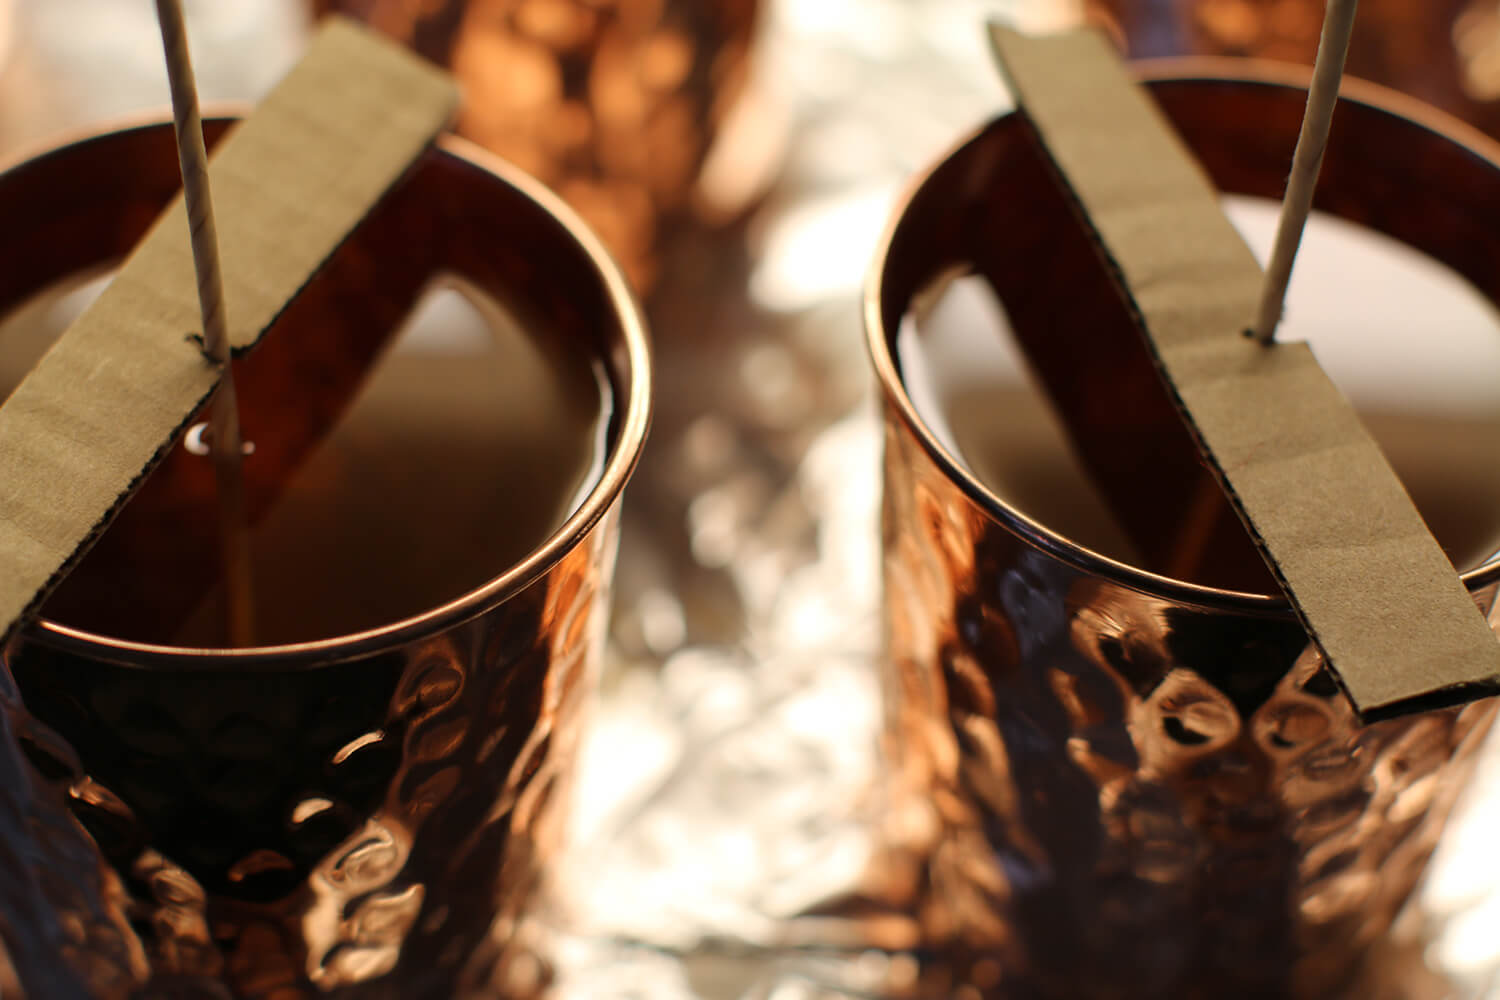
You can also purchase wick bars, which help keep the wicks centered once the wax is poured. We made our own out of recycled cardboard by cutting them close to the cup width and creating a small notch in the center to hold the wick.
Step 6: Set Overnight to Cure the Candle
Once the wax has cooled to 135 degrees, and the copper tumblers wicked in the prep area, you’re ready to pour. Try to pour the wax quickly but steadily to prevent spillage. Pouring quickly helps the wax set evenly without cracking. Let the candles set overnight and you’re finished!
Creative Presentation for Your Exquisite Candles + Special Holiday Offer!
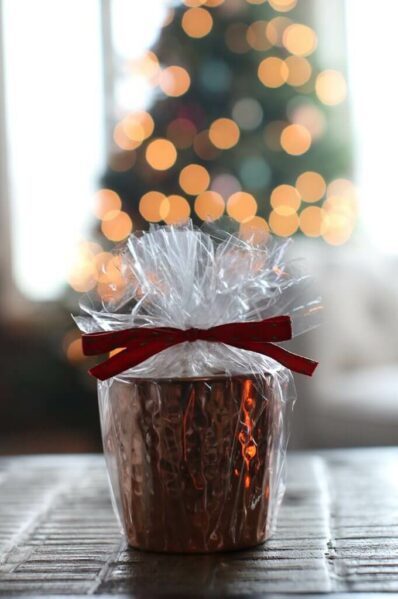
These candles are so beautiful, there’s no reason to hide them behind wrapping paper or in a box, so we wrapped them in cellophane with a ribbon. For one final show of holiday cheer, please use code: CANDLEBLOG10 at checkout on orders from our website to help you get the best deal on our copper products.
Follow Us